Crafter's Companion Spots and Dots Multi-Use Stencil Set (3pc)
Have fun with sparkling colour to give every card and craft projects a shimmering and stunning design
Designed to be used with Glitter Paste, each set includes three stencils to create a trio of co-ordinating designs on so many different surfaces. Mix glitter paste shades and experiment with ombré effects to give cards, invitations, gift bags boxes and home decor projects a sparklingly professional finish.
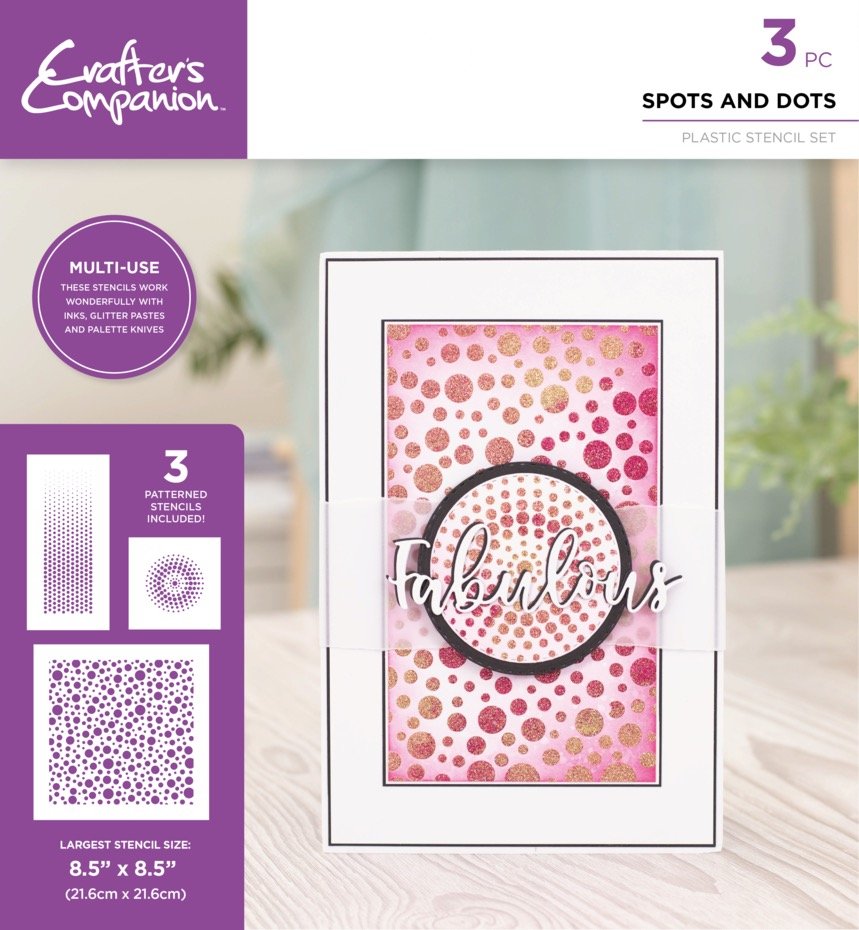
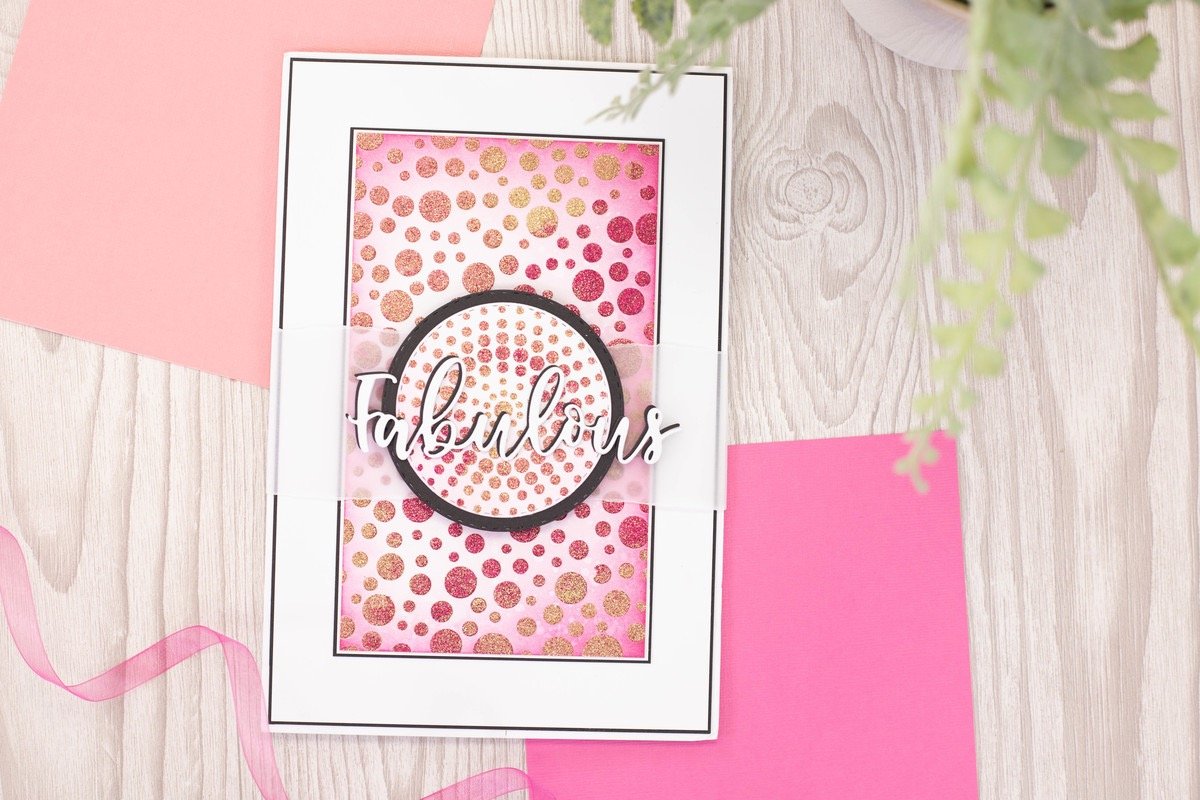
Triple your creativity - The Spots and Dots Glitter Paste Stencil Set includes three coordinating designs; a full background stencil, a border stencil and a centrepiece stencil. Each stencil in the Spots & Dots set features geometric and fun dotted patterns, perfect for any season or occasion. Use all three stencils together for a statement card or choose individual stencils for gift bags, cards, tags, decorations, gifts and home decor items. Glittering and gorgeous
Each stencil has a wide border, so you can sweep glitter paste across freely, without smearing any excess onto your material. Take a look at the simple instructions listed below to get started right away. And Crafter’s Companion Palette Knives offer smooth, controlled and precise application. Versatile and re-useable - Crafter’s Companion


Additional Info
Glitter Paste Stencils can be used to apply colourful, sparkling patterns to a range of surfaces. So as well as cards and papercraft products you can get creative to decorate canvases, vases, tea light holders, mirrors and more. When you’re done, just wash your stencil in soapy water and it’s ready to use again!
Instructions for use with Glitter Paste: 1. Secure your stencil to your project using low tack tape. Include a strip at the top of the stencil to act as a ‘hinge.’ 2. Select your chosen glitter paste and use a palette knife to gently spread the paste through the stencil. Try not to press down too hard. 3. Use the angled edge of the palette knife to gently scrape away the excess paste from the stencil. 4. Take off the low tack tape, leaving the ‘hinge’ piece in place. Carefully llift the stencil to check your design. If the full design hasn’t been achieved, gently place the stencil back down, secure it again and repeat the process to apply more paste. 5. Once you’re happy with your design, carefully remove the stencil and allow the design to dry. Wash the stencil immediately in warm soapy water and ensure the lid is placed back on the glitter paste so it doesn’t dry out.
